
Say goodbye to back-breaking and time-consuming efforts of detecting vacuum leaks in your automobile. All you need is a WD40 spray. All that and many more ideas are finally available in this article. Feast your eyes!
As time goes by, your car or vehicle deteriorates. Nothing in this world lasts: we all know that. We get old and die. So the idea of a long-lasting automobile engine is really out of the question.
The real deal here is not the longevity of the car, but rather its sustainability. To ensure its sustainability, we look out for possible issues even before they occur. Some of the problems we predict include vacuum leaks, exhaustion of engine parts (particularly the linings and the hose), and many more.
Among these issues, vacuum leaks tend to be the most challenging to locate and diagnose. It is so challenging that having to spot or check vacuum leaks feels really rewarding. Everything should easily follow through once you spot the problem. That is, because ironically, fixing a vacuum leak turns out to be one of the easiest tasks.
The bigger question is: how do you spot the problem?
The answer: check for vacuum leaks with WD40. That’s how.
Are you interested in getting into the details? Come, follow us through our whole journey to experience amazing results in your car vacuum!

Table of Contents
What is a Vacuum Leak and What are Its Effects?
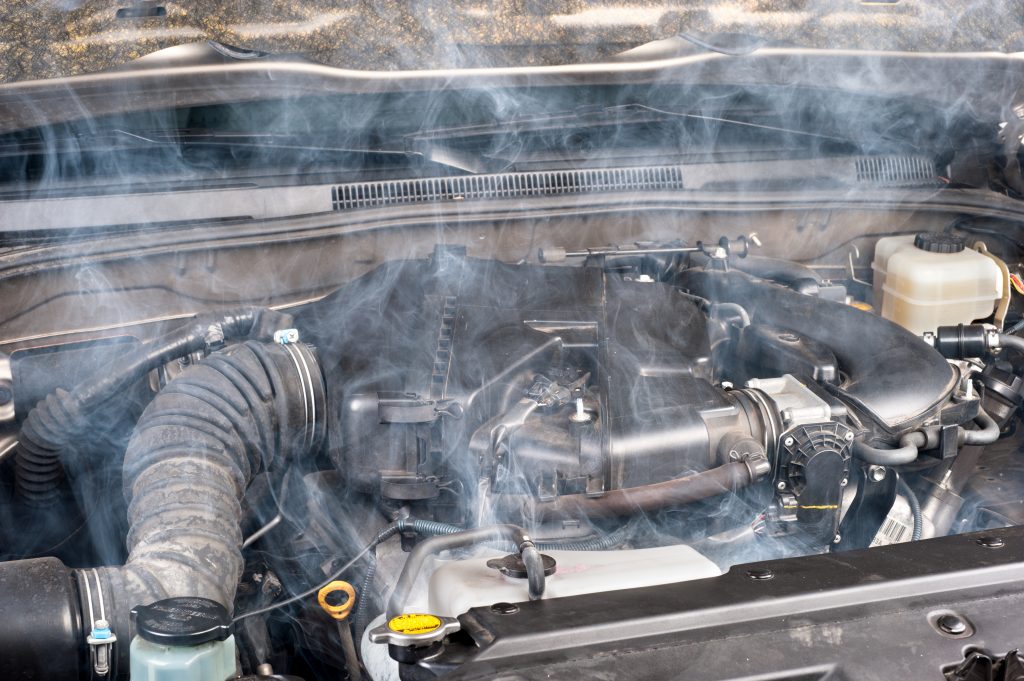
A vacuum leak is an occurrence that affects the area between the mass air flow sensor and the main engine system of the car. Several factors trigger the leak, the most common being the loosening of the hose. Others include the warping of the intake manifold and the collapse of the O-rings.
The phenomenon causes more air to flow into the air filter, disrupting calculations by the engine computer and triggering an excess of air over fuel in the system.
Untreated, a vacuum leak can cause the following problems to your car:
- Inability to sustain speed
- Tendency to slow down or even stall
- Tendency to go idle more frequently
- Emission problems
- Lean” status on the engine system (more air than fuel)
- Inability to accelerate
- Damage of catalytic converter, pistons/plungers, and many more devices
- Permanent damage of the engine system
- And many more
Why is it difficult to check for vacuum leaks?
A vacuum leak acts up when your automobile is on stand-by mode. So you won’t really naturally notice it unless you intently look out for its symptoms.
Another reason that makes vacuum leak difficult to spot is the fact that it’s symptoms are usually distributed throughout the engine parts, diverting your focus to the root of the problem.
What are Symptoms to Watch Out for When Checking for Vacuum Leaks?
Here are some symptoms to watch for when checking for vacuum leaks:
- Loud hissing sound in your engine
- Engine light is alerted
- Engine frequently fails to start
- RPM rate is high
- Acceleration becomes more and more difficult
If you notice these signs, it’s possible that your vehicle is experiencing vacuum leaks. But you can’t be conclusive yet, you’d have to know further.
The next best thing to do is to actually check for vacuum leaks with WD40.
What is a WD40?
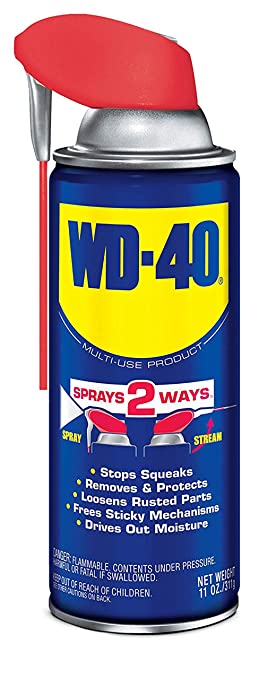
The WD40 stands for “Water Displacement, 40th Formula”. A formula sold in a spray, this product works as an effective solvent against hardened dirt, rust, grimes, and other calcified elements. It has been widely used to protect metals, steels and other surfaces from corrosion.
Other modifications of the formula saw a recent multi-purpose variant that greases engine parts with noticeable effect.
>>(Click the link here to see our top WD40 product)
More handy tools await below. They should essentially help you to check for vacuum leaks.
What are Essential Tools to Prepare Before I Check for Vacuum Leaks with WD40?
Here are the other tools you need to prepare besides WD40:
- Unused cloth (dry and clean)
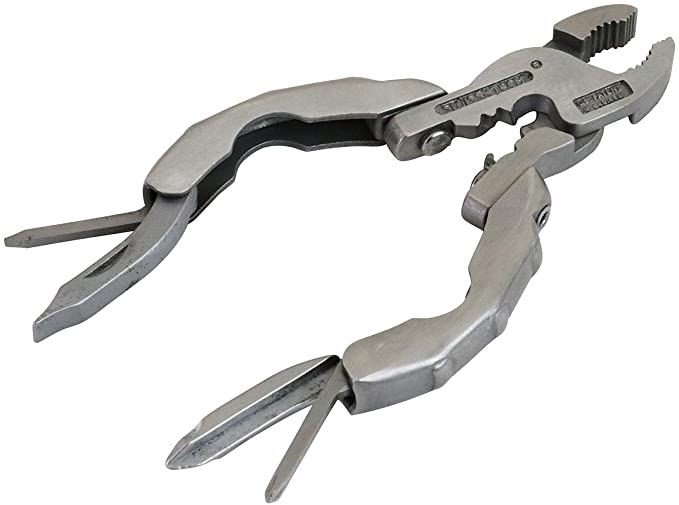
- Pliers (Click here to see our recommended pliers)
- Fuel hose (28-19 inches long; half-inch thick) (Click here to see our recommended fuel hose)

If you’re complete with all this stuff, you should start to check for vacuum leaks with WD40.
How to Check for Vacuum Leaks with WD40
Here are the steps on how to do it:
Step #1. Inspect the capacity of the manifold vacuum.
- Refer to the repair manual to obtain ideas on manifold capacity.
- Run the car to level-off the vacuum gauge.
- From the vacuum gauge results, determine the overall capacity of the vacuum manifold vis a vis the car engine’s required strength.
Step #2. Prep up the engine.
- Put and fix all engine parts in place.
- Set the entire lining system (including the gaskets and lining) in proper condition.
- If valve lifters (only for vehicles designed with it) are too tight, loosen them a bit.
- Once you have decided that the spark plugs are in good condition, loosen them to set aside. Use pliers in doing it.
- Use a compression testing cylinder to obtain an accurate assessment of the condition of the O-ring and the main valve.

Step #3. Mind the heat-control valve.
- After prepping and running the engine system, turn it off.
- Allow it to cool for 10 minutes.
- Upon cooling, observe the behavior of the manifold heat-control valve.
- If it heats up and then transfers heat via a series of channels underneath the carburetor into the exhaust points, then consider it to be in perfect condition. However, if it stays cold for the next 30 minutes or so, treat it as a contributory factor to leaking.
- Note it for future repair to be done by a professional mechanic.
Step #4. Look out for a loud hissing sound.
- Make sure you are in a quiet environment.
- Once you’re done inspecting the manifold heat-control valve, turn on the engines again.
- Rev the engines up just right for smoke to exit from the muffler.
- Look out for a hissing sound during the slowing of the engines.
- Ask a partner to help you evaluate.
Step #5. Locate the source of the hissing sound by using WD40.
- Suppose there is a leak judging from the hissing sound heard, locate its source.
- If you can’t locate its source, check for vacuum leaks with WD40.
- Attach the WD4- spray into the hose.
- Allow the hose to reach into the intake manifold system.
- Spray into the surfaces and joints of the engine lining.
- If the formula is absorbed, spray again.
- If the RPM increases rapidly while the WD40 formula is being absorbed, note the exact spot of absorption. You’ve just located the exact spot of the vacuum leaks.
*Note: If you still can’t locate the source of the vacuum leak, do not hesitate to ask assistance from a professional mechanic.
You may also love to read The BEST WAY TO CLEAN RUBBER CAR FLOOR MATS
Conclusion
The steps on how to check for vacuum leaks with WD40, as you’ve noticed, are progressive based on circumstances. Meaning, you cannot miss a single step. Looking into all the details at hand is key to successfully locating and diagnosing the source or the vacuum leak.
However, it can also tend to be overwhelming. The engine system of an automobile represents complex joints, parts, and functionalities, each with its own possible problems.
It is therefore important to determine first and foremost if the problem you’re looking for is actually vacuum leaks. Thankfully, our simplified steps on how to check for vacuum leaks are sure to help you do that without going through a complex set of actions.
Look back on our method. Do you think it’s made simpler? Do you think the WD40 should be treated as the ultimate tool for checking for vacuum leaks?
Tell us in the comments below…