Whether you’re eyeing to troubleshoot, clean, or overhaul your vacuum system, you have to learn how to take it apart. Did you know that you can take apart a Bissell vacuum in less than 3 minutes? Watch out to learn how to do it.
Vacuums have existed as our most trusted cleaning machines. The Bissell vacuum, in particular, has proven its worth through the years. The Bissell vacuum works with utter convenience, speed, and efficiency! Naturally, users find this vacuum brand worthy of a keep.
Table could not be displayed.
But what if it no longer performs the way it’s used to before? What if it seems to have exhausted its suction power over the years? What if it’s already out of its warranty coverage?
Should you throw it away? What if all it needs is just a simple cleaning?
Our recommendation: take apart a Bissell vacuum in order to clean it. You’d be amazed at the results.
Read the entire article to learn how we did it in 3 minutes or less….
Table of Contents
Why Should I Use a Bissell Vacuum?
A Bissell vacuum proved to be one of the best vacuum brands in the industry today. How great is it? Well, it’s the only one of its kind that delivers to various unique cleaning needs and conditions.
Often referred to as the vacuum cleaner of our generation, the Bissell brand stands out as a versatile and all-around cleaning tool.
Other advantages of using Bissell vacuum are as follows:
- Convenient and easy cleaning
- Fast assembly
- Practical and affordable cost
- Ultra-Light
- Serves to a number of cleaning needs and conditions
- All-around cleaning (including upholstery)
- Complete with useful accessories
- Durable & Long-lasting
- Easy to take apart and clean
- Easy to assemble
- Easy to troubleshoot
- Strong suction
- Easy to store
And many more…
When referring to Bissell vacuum, we’re actually not specifically pointing to just one model by the brand. A number of units actually make up the Bissell industry.
Here are a few top-notch vacuums by Bissell:
Top Vacuums by Bissell

Before we delve into our honest reviews of some of the Bissell rankers, let’s look into the types their vacuums are designed from. Knowing these details should help you easily take apart a Bissell vacuum.
The two common types of vacuums in Bissell are:
- Canister. Canisters resemble the typical vacuums in the past. It’s got a canister attached with a hose and an extension wand.
When using the canister vacuum, one only pulls the hose and wand to clean with the canister body tugging along.
Canisters are effective in cleaning carpets, upholstery, staircases, and other difficult-to-reach areas.
- Upright. The upright vacuum type tends to be a newer invention. Usually described as a long standing body, it cleans as a whole. Meaning, you’ll have to carry the entire body when cleaning areas.
The upright vacuum is great for cleaning narrow areas as wells since they adjust easily to accessories and attachments.
The upright vacuum impresses by giving freedom to the user on how to manipulate its cleaning action.
Now that you know the difference between the two main types of vacuums of Bissell, it’s time to have your pick.
Witness the top 3 major vacuum models by the Bissell brand:
1. Bissell Cleanview Swivel (Upright & Bagless)

This powerful multi-surface cleaner uses a special swivel action that reinforces its already-powerful suction power. It’s an upright and bagless vacuum that’s so comfortable to use and tough on pet hair.
2. Bissell Pet Hair Eraser Turbo Vacuum
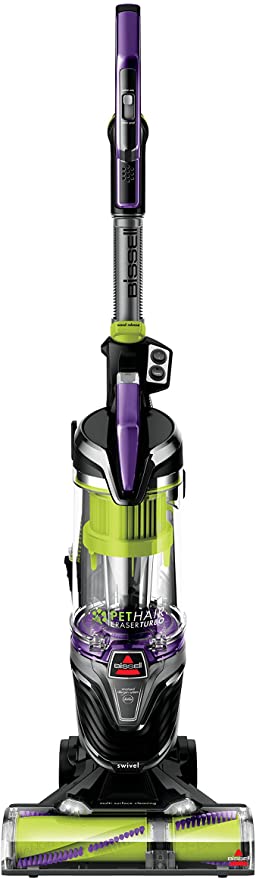
Also tough on pet hair, this turbo vacuum has doubled suction capacity. It also boasts of a self-cleaning and maintenance technology.
3. Bissell Zing Canister Vacuum
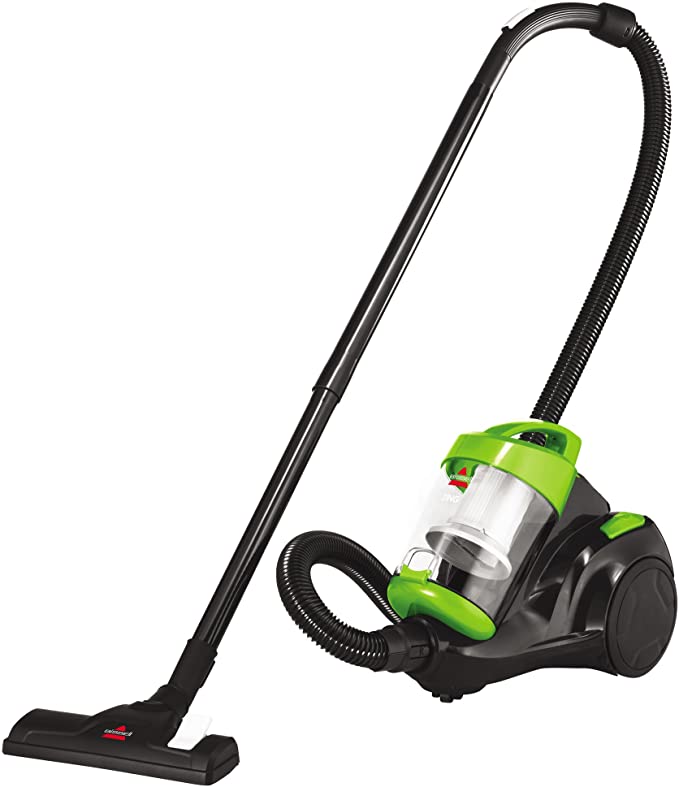
This equally impressive canister-bagless vacuum is an upgraded model complete with all tools and attachments for tackling crevice dirt, large debris, etc.
Let’s not hold you long. Let’s get to work. We’ve got a Bissell vacuum to take apart.
How to Take Apart a Bissell Vacuum in Less than 3 Minutes
Here are the steps on how to take apart a Bissell vacuum in less than 3 minutes:
Step #1. Study the user manual.
Estimated time: Takes only 2 minutes or shorter depending on your existing knowledge
- Retrieve your Bisell vacuum’s user manual.
- Go to the page that enumerates the parts of the vacuum.
- Proceed to the section that explains how to remove the parts.
- Mark the page.
Step #2. Prepare the space and tools needed.
Estimated time: Takes 8-10 minutes depending on the availability of some of the tools
- Choose a wide and flat space that is free from any obstruction.
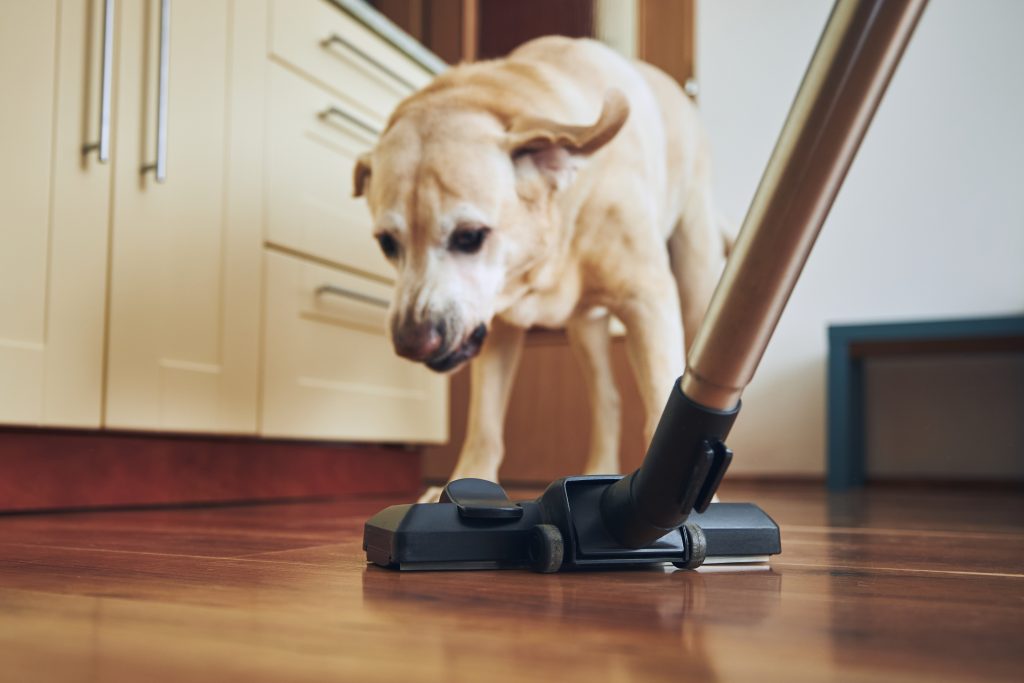
- Clear the space from pets or kids running around.
- Place a clean cloth, garment, plastic covering, or even stacks of paper flat on the floor to protect it.
- Prepare the necessary tools:
- A bowl/Container
- Gas duster (Click the link here to see our favorite product)
- A pair of scissors (Click here to see our recommended pair of scissors)
- Microfiber cloth (Click here to see our favorite product)
- Face mask/Dust mask (Click here to see our recommended dust mask)
- Rubber gloves (Click here to see our recommended rubber gloves)
- Screwdriver (cross-point) (Click here to see our recommended product)
- Solid comb (Click here to see our recommended comb)
- Pliers (Click here to see our recommended product)
- A pail of dish water
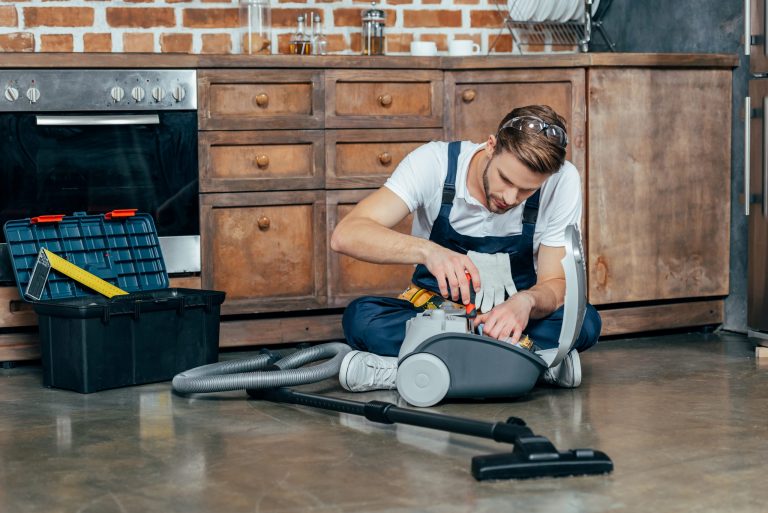
Step #3. Begin taking your Bissell vacuum apart
Estimated time: Takes shorter than 3 minutes or shorter
- Wear your mask and gloves.
- Uninstall the vacuum’s external accessories and all other removable parts.
- Gather all the external parts in a washbowl or sink and submerge them in clean and warm soapy water.
- Study the body of the Bissell vacuum to locate screws and the casing edge. Refer to the manual from time to time.
- Once you have loosened all screws using a screwdriver, gather them all in a container/small bowl to avoid losing them.
- Break open the Bissell vacuum case entirely and put aside the remaining parts. Place the bigger parts in the side where you can easily see them.
Step #4. Clean up.
Est. time: Takes 12-15 minutes or more (important to take your time on this one)
- Detach the bag or the dust bin to be cleaned.
- Set them aside.
- Detach the parts of the vacuum head (beater bar, motor belt, brush roll, and other parts depending on the vacuum design).
- Place the parts into the washbowl where the external accessories were previously stored.
- If your vacuum has a belt, have it cleaned first.
- Hang the belt to dry.
- Clean all the parts in the washbowl with warm soapy water. Use the comb to tackle all brush devices.
- Use the pair of scissors to cut through trapped pet hair and other strands.
- Run the soapy water into the hose and the extension wands (if there are any).
- Throw out the existing water and replace it with a cleaner one.
- Rinse all materials.
- Return only the parts of the vacuum into place (reassemble).
- Clean the vacuum cases from the inside out using a microfiber cloth that’s dampened with clean water.
- Tackle also the vacuum wheels (if there are) by wiping them with the microfiber cloth.
- Have all parts thoroughly dried using an electric fan. Leave them to dry for 15 minutes. Or, you can simply blow-dry each part to speed up the process.
Step #5. Assemble the parts back together.
Est. time: Takes 3 minutes or more (don’t rush)
- Clean the bag or filter.
- If the bag or filter tends to be too dirty, have them replaced already.
- Put the case back together by tightening their screws.
- Go over the same steps you took, only backwards.
And that’s how you take apart a Bissell vacuum in less than 3 minutes. In totality however, the whole deal of cleaning a vacuum takes 30 minutes more or less.
But don’t go yet. Hear our conclusion!
You may like to read Bissell Crosswave Solution Alternative
Conclusion
The means to take apart a Bissell vacuum are not really that complex. All you need are some tools and an organized mind to arrange and locate vacuum during and after cleaning.
But first thing’s first: you cannot take apart a Bissell vacuum in a space full of running kids, pets, and other obstructions. Working in a messy environment will only make the act more messy. Worst, it can cause you to lose small parts like screws.
Another important thing that you have to keep in mind when taking apart a vacuum is to always refer to its user manual. Note that no two vacuum designs are alike. The user manual would serve as your bible. So, don’t ever skip this part.
What do you think of our method? Comment down below to share your thoughts.