

If you’re looking for a flooring that dramatically lasts for the longest period of time, you’ll surely be delighted by the vinyl flooring. The properties in a vinyl makes it conducive for either private or public flooring use. Like other types of flooring, this one requires specific installation methods. If you’re installing vinyl plank flooring for the first time, no worries. We’ve got the best steps for doing exactly that.
Vinyl floorings really last long. Its extremely durable waterproof material makes it a practical flooring solution. Distributed in the form of planks, vinyl can be slightly challenging to place when you have an existing flooring. Pre-installation requires having the entire flooring removed days before doing it. Doing so secures you a long-lasting flooring quality.
Direct from our experience, putting this type of flooring does not really take that much brains. All it takes is a few simple steps to master. Fortunately for you today: we simplified these steps even further.
Read this article down to its last word; and, don’t ever miss a single beat.
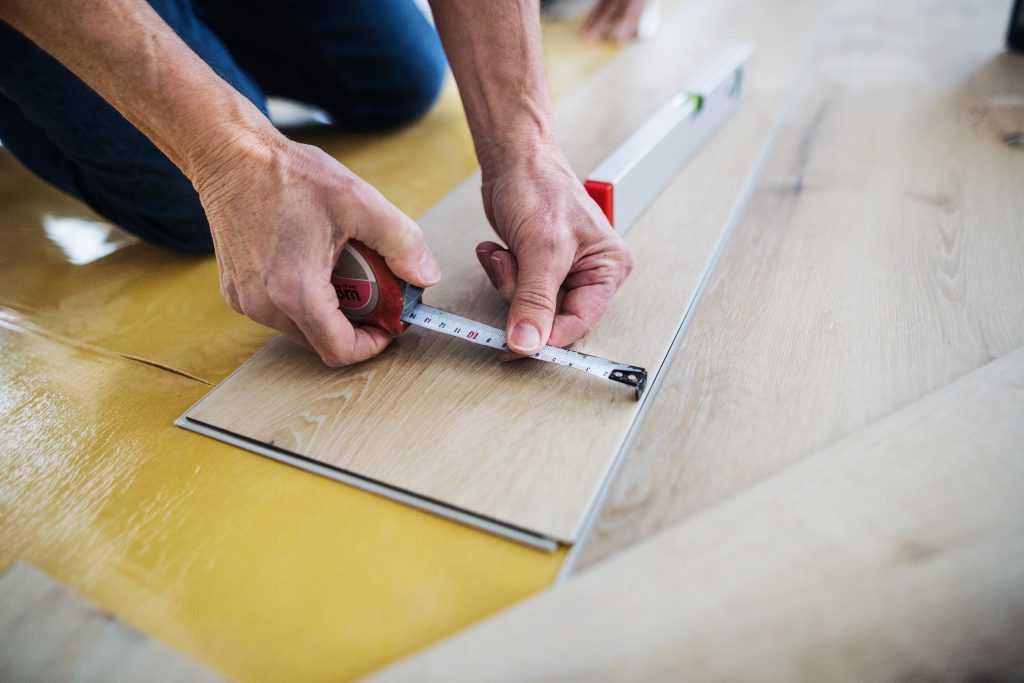
Table of Contents
Why Should I Choose Vinyl Plank Flooring?
You should choose vinyl plank flooring simply because it’s a practical flooring solution.
Here are more benefits of using/installing the specific flooring:
- It is impressively durable.
- It’s a low-maintenance quality.
- It’s designed for heavy-duty use.
- It’s easy to remove and replace (under the condition that it isn’t glued)
- It’s water-resistant.
- It has a wide list of types, designs, colors, thickness, etc.
- It doesn’t easily wear out.
- It easily matches decor, interior shade/color, and overall design.
- It’s got high integrity color and texture.
With these reasons, we’re pretty sure you’re now convinced about the superior quality of the best vinyl plank flooring.
Remember that some of these qualities aren’t inherent in the vinyl flooring. The tools used for putting up the flooring contribute a lot to its superior quality.
Here are some tools to prepare when doing the business…
Important Tools to Prepare when Installing Vinyl Flooring
The tools are as follows:
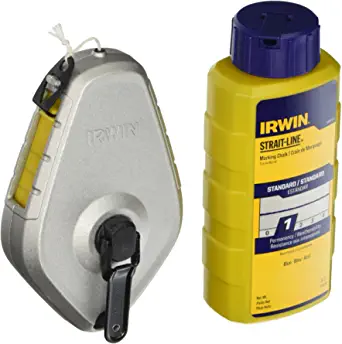
- Chalk line >> Click the link here to see our favorite product <<
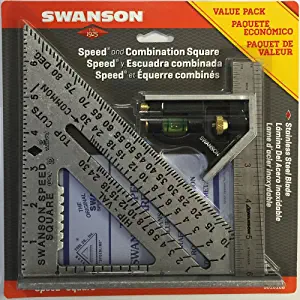
- Square tool >> Click the link here to see our favorite square tool <<
- Pry bar >> Click the link here so see our top product <<

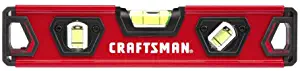
- Spirit/Bubble Level >> Click here to see our favorite product <<
So you’ve got all the necessary tools for the method. Let’s proceed with the steps…
Best Steps in Installing Vinyl Plank Flooring
Here are the best steps on how to install vinyl plank flooring..
Step #1. Plan your layout.
- Determine the placement of the planks. For straightforward vinyl planks, you’ll need 10% of allowance on the materials. For patterned designs, you’ll need to prepare 15-20% extra flooring.
- Consider the distribution of the light in the space you’re planning to lay the flooring.
- Consider the most noteworthy part/line of the wall.
- Decide whether you’re laying the flooring across or against the grain of the room.
- Measure the planks vis a vis the size of the room. Consider the protrusions.
- Sketch out the planks before installing vinyl plank flooring.
Step #2. Allow the planks to acclimate into the space.
- Allow the planks to acclimate into the space for the next two days. Then, wait.
- Consider the temperature and other conditions in the room/space/area.
- While waiting, set up joints/links for achieving a seamless run between floorings.
- Install the joints or transition molds.
- Deal with the protrusions usually inclined along doorways.
- Remove the baseboards using a pry bar.
- Make your marks for placement.
- Clear the underfloor. Keep it dry.
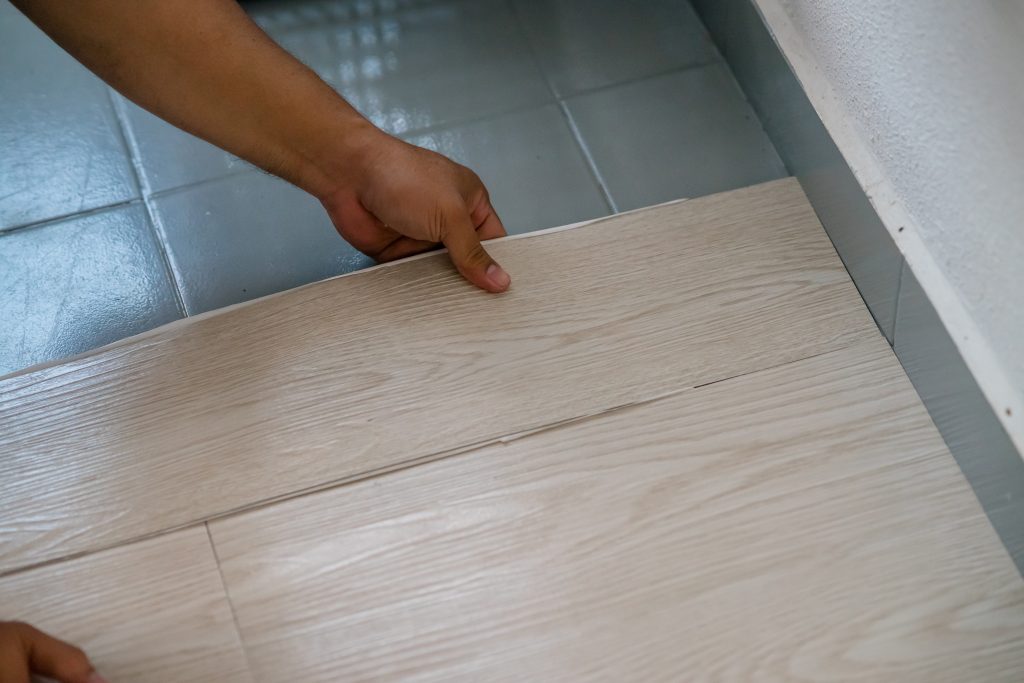
Step #3. Set-up by row.
- Lay the first planks parallel to the run of the wall when installing vinyl plank flooring.
- Evaluate necessary actions after.
- Set up one plank at a time by row.
- Keep the first row of planks sized down to an inch thinner. This will double with the planks in the last remaining row.
- Measure, calculate, measure. Click the link here to learn everything about it.
- After you’re done with the first row, make a halt.
- Evaluate for adjustments.
Step #4. Begin laying the vinyl plank flooring.
- Complete the second row.
- Check out for the slightest gaps. If there are, you have to readjust.
- After completing the second row, measure up to determine the length of the last plank.
- Repeat the whole process for the entire rows.
- Apply finishing material to mend the gaps.
Conclusion
The best steps in installing vinyl plank flooring guarantees a sturdy, durable, and long-lasting flooring quality.
Remember that considerations in the placement of the flooring vary per place. Certainly, one place can have a unique set of needs like jambs, baseboards, etc.
The best that you can do is to be attentive to these factors. By doing so, you’ll make the task much easier.
You may also like to read An Honest Review of the Epic TINECO Floor One S3 Cordless Vacuum Hardwood Floor Cleaner