
Learning the secret on how to protect hardwood floors from exercise equipment should be everyone’s concern.
Exercise equipment – treadmill, barbells, etc.- due to their weight, potentially inflict damage on most floor types. Hardwood floors happen to be the most vulnerable to certain damages. Most of the time, hardwood floors retain these damages on a permanent basis.
These confronting realities leave home/gym owners no other choice but to sure-proof their floors with any available solutions. But it shouldn’t be the case since not all solutions are really what they ought to be.
They need 100% effective ones like our tips on how to protect hardwood floors to be sure.
Want to know our secret? Read on…

Table of Contents
Effective Tips on How to Protect Hardwood Floors from Exercise Equipment
Whether you own a home or a gym, you’ll eventually come across the question: “will my weights damage my hardwood floors?”
Well, you’re right to be asking wood gym floor maintenance-related questions since heavy exercise equipment can truly damage hardwood floors. It is also important at this point to bust the myth about hardwood being hard wood.
Although hardwood floors are eventually solid wood planks, they’re not impervious to heavy, sharp and pointed edges of most exercise equipment. Damage on hardwood surfaces vary from casual markings to serious permanent scratches and discoloration.
As we mentioned earlier, damage on hardwood floors is difficult to undo. Prevention therefore, remains to be the best move in this case.
Thus, most of the tips we’ll be discussing here fall under prevention.
The tips are as follows…
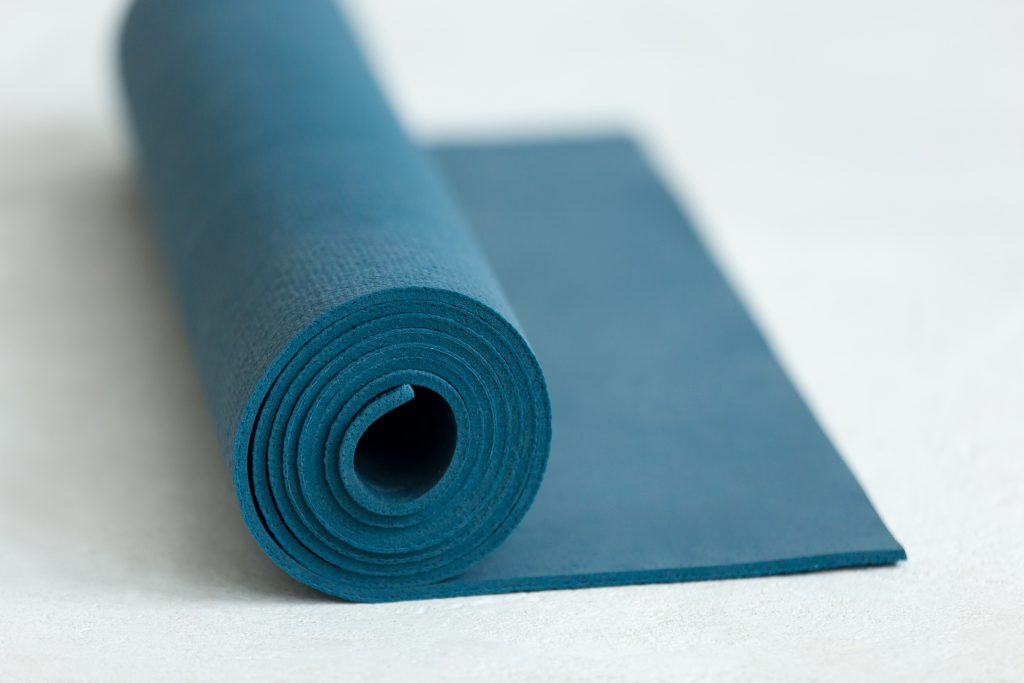
Option #1. Put in Rubber Mats.
Underlying the floor with rubber mats works as an immediate, most practical means for protecting the hardwood floors from heavy equipment. However, this doesn’t play out without a disadvantage: the buildup of moisture and dirt underneath.
The simplest solution is to clean the mat from the upside down on a regular basis, and to make sure no moisture gathers below it.
Protective pads, although more useful when moving around furniture and exercise equipment, also equally do the job.
Why rubber?
Rubbers effectively absorb weight, impact, pressure, and even noise.
Here’s how to do it:
- Clean the floor by sweeping, coating, and finishing.
- Prepare and size rubber mat to fit the floor’s expanse.
- Make sure to clear the floor of any moisture or particles before laying out the rubber mat.
- Clear the underside of the rubber mat.
- Put in the rubber mat.
- Put in the exercise equipment after.
NOTE: Make sure to encase the equipment’s feet with protective pads when moving or transferring them around.
Option #2. Move Exercise Equipment Around (once a week).
Logic tells that transferring or moving heavy exercise equipment around at least twice a week minimizes the appearance of markings, creases or scratches on the floor.
Positioning the equipment to areas with less traffic – that is, less frequently stepped on, or used about – yields similar results.
Here’s how to do it:
- Ask one, two or more individuals to help you lift the weights/equipment.
- Put protective pads under each of the equipment’s feet.
- Carry the equipment to transfer.
- Do this at least once a week.
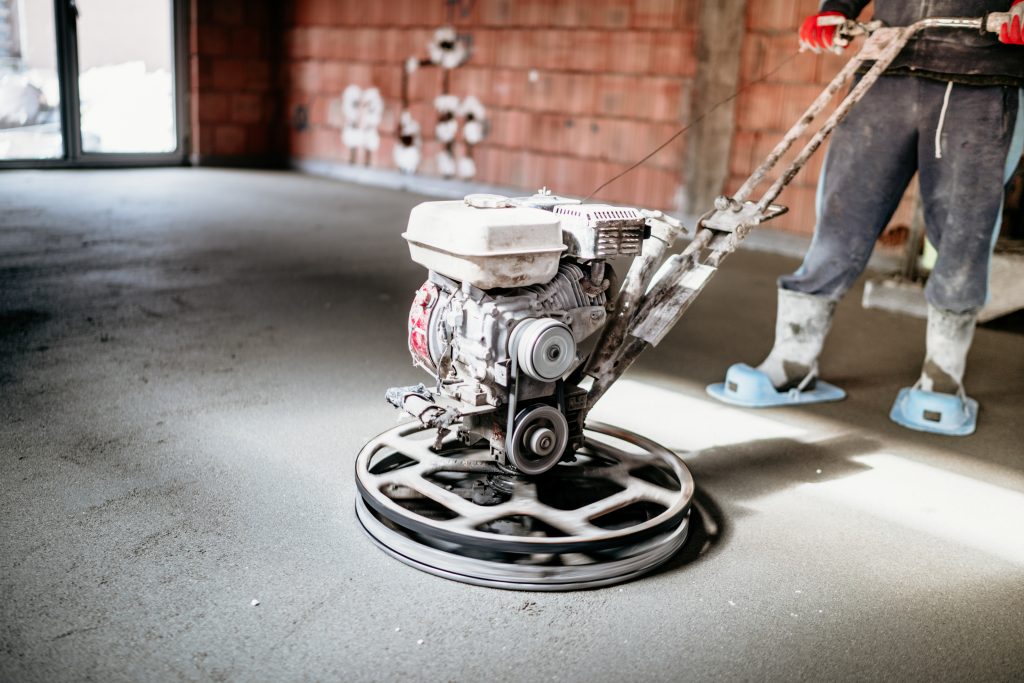
Option #3. Prevent Additional Damage by Refinishing
Refinishing involves removing external layers and inner coating off the hardwood floors. In short, it’s the process of removing the floors’ entire finish.
The difference with this process from other actions is that it’s only done when occurring damage begins manifesting on the surface. This, in a way, prevents further unseen damage from exacerbating.
What if damage has exacerbated?
Well, you’ll be forced to replace your entire floorboards. God forbid we don’t reach that point.
So here’s how to do it:
- Draw up the base shoe frame.
- Sand the exposed surface (hard pressure).
- Sand the overall floor frames and borders.
- Polish floor to a sand.
- Clean off remaining sand.
- Apply the first layer of finish.
- Apply final external finish.
Option #4. Recoat Floor.
Recoating the floor is like refinishing but milder. This qualifies as mere prevention against possible damage caused by exercise equipment. Meaning, it involves repolishing the floors even before damage has manifested.
How regularly should I recoat my hardwood floors?
Once a year.
Here’s how to do it:
- Polish to sand the external, first layer of the hardwood floors.
- Clean of dust.
- Put in at least 2-3 types of coatings, plus a lacquer.
In case floor is still in perfect condition:
- Just layer in coatings, oil-based finish, and lacquer.
- Make sure to leave the floor to dry. ( Read here How To Dry Wood Floor After Water Leak )
And, that’s about it…
If you follow these options from the edge-to-edge, you sure won’t experience any troubles with your hardwood floors under heavy equipment.
But wait, choosing the perfect finish for your hardwood floors is crucial for keeping its luster in the next many years. More so, high-quality finish sure-proofs your floors from possible damage.
Check out our list of 5 best hardwood floor finishes below…
3 Best Hardwood Floor Finishes
Finish products not only make your hardwood floors look good, they also increase their durability and their resistance to weight-based damages.
Finish or coating most importantly preserves the floors, encasing them in a suspended quality of new-ness.
Here are our best and top-reviewed hardwood floor finishes:
1. Rejuvenate Professional Wood Floor Restorer and Polish
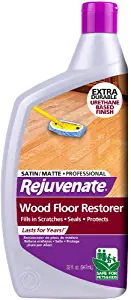
What’s most outstanding about this product is it’s blending capacity. A rare feature among floor finishes, blending provides pristine coating or finishing transitions.
With this product, having to manually remove existing finishes/coating no longer stands as an issue. Why? Because, this product has a natural property of blending its own finish with previous finishes.
And, it does so with 100% accuracy. And, yes! It blends on all product qualities or concentrations. After several uses, this product should trigger in you several ideas on how to polish wood floors naturally.
Another great thing about this Rejuvenate brand is that it’s all natural and non-toxic. Meaning, using it on the floor several times than recommended poses no problem. In fact, it should strengthen the floors’ luster strength, making it temporarily impervious to heavy exercise equipment.
Pros:
- Fast-resulting restoration & polishing formula
- Extra-durable
- Fills in scratches
- 100% safe to sse; natural & non-toxic
Cons
- Leaves residues
- Doesn’t dry quickly
2. Weiman Wood Floor Polish and Restorer
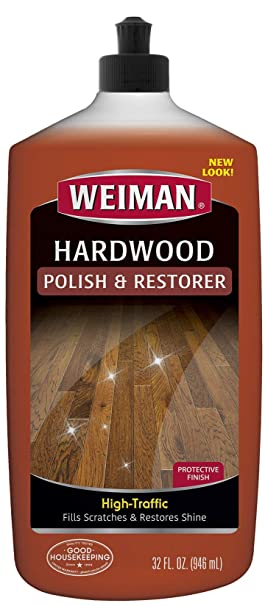
Boasting of long-lasting results, non-sticky residue, non-toxic formula, and a quick-fill action, this product by Weiman is certainly the perfect, most versatile product to use on any hardwood floor conditions.
This product also serves as a polish, lest a scratch filler, regardless of depth. Continued use of the product has proven to strengthen the hardwood floor’s resistance level to weight, pressure, impact, and scuffs.
Pros:
- Non-Sticky
- Long-lasting
- Restores shine
- Safe to use
- Natural and Non-toxic
Cons
- Gets dark on oak wood
- Lacks concentration
- Doesn’t dry quickly
3. Quick Shine Multi-Surface Floor Finish and Polish
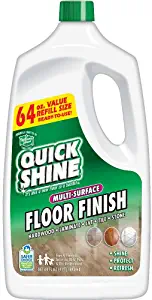
Of all the products on this list, it’s the Quick Shine finish product that works most conveniently, all thanks to its simple squirt mechanism.
Other things that make this mechanism great include providing you greater control on the volume to be applied, ensuring a mess-free application, and maintaining sufficient coating that lasts for months to a year.
With this said, you can expect a well-coated and protected hardwood floor against heavy exercise equipment.
This product also boasts of being a multi-surface finish quality. It reacts mildly to even the toughest tile conditions there are: Vinyl, Laminated, and even Ceramic.
Finally, the product is also 100% safe to use.
Pros:
- Quick shine
- Quick application (squirt mechanism)
- No-messy
- 100% Protection
Cons
- Difficult to blend
- Rough transitions
- Easily changes colors
- Doesn’t stay long
So there goes our top 3 hardwood floor finishes you can apply today.
Bonus: 5 Best Rubber Floor Mats to Place on Your Hardwood Floors
Here our highly recommended 5 rubber floor mats to place on your hardwood floors…
- Resilia Heavy-Duty Protective Floor Mat for Exercise Equipment
- Exercise Equipment Mat 4″ x 4″ x 0.5″ Pads Pack of 6
- Treadmill Mat Heavy Exercise Equipment Mat
- BalanceFrom Puzzle Exercise Mat
- VersaTex Multi-Purpose Rubber Floor Mat
Continue reading to hear our conclusion…
Conclusion
Hardwood floors are as vulnerable as they’re beautiful to look at. When planning to use heavy materials on hardwood floors, one has to learn the tips on how to protect hardwood floors from exercise equipment.
And, as we said earlier, hardwood floors, despite sounding ‘hard’, doesn’t necessarily mean they’re impervious to pressure, impacts, scratches, and eventual damage.
Our tips, by all honesty, are not simple. Of course, it does need your backs unto it to succeed. But if you’ve finally grasped the logic behind how hardwood floors work, you’ll definitely find it as easy as buying a rubber mat.
To sum everything up, here our tips on how to protect hardwood floors from exercise equipment:
- Put in rubber mats. ( Read here HOW TO CLEAN RUBBER FLOOR MATS )
- Move/transfer exercise equipment around.
- Refinish the floor.
- Recoat the floor.
With these 4 easy-to-remember options, you’re good to go with your hardwood floors!
Best of luck…